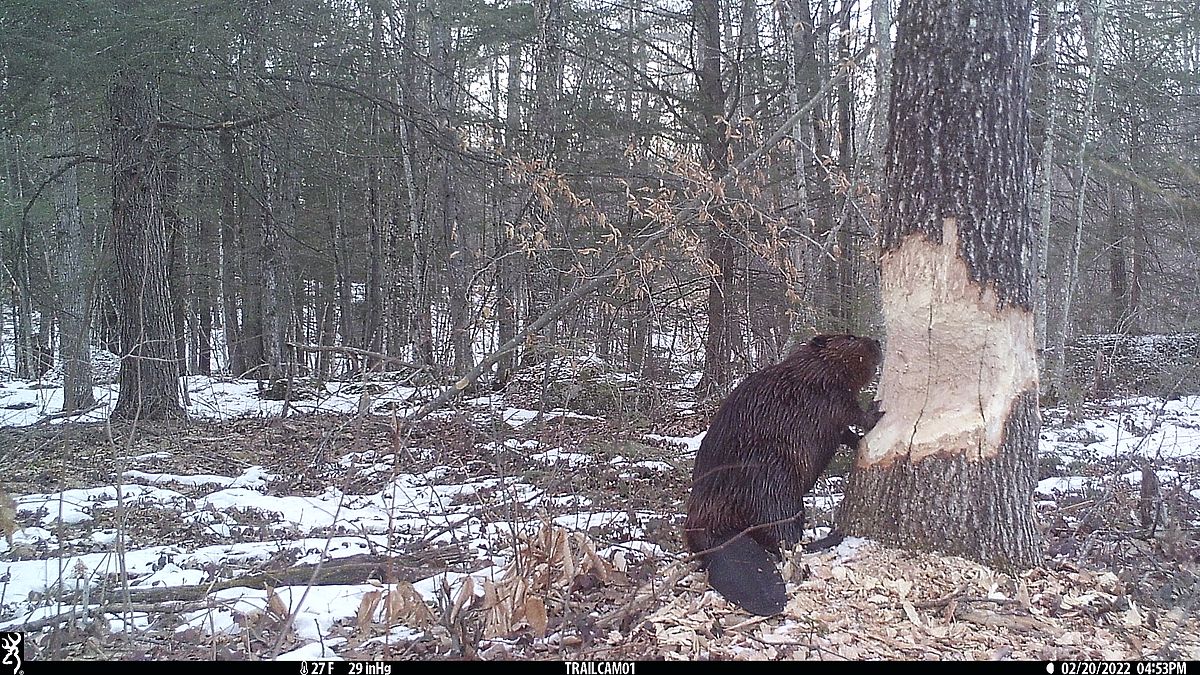
It would seem easy to set up a motion-activated wildlife or game camera: go out and strap it to a tree. It can be like that, but, if you want to increase your chances of getting top-quality videos and photos of mammals and birds, there are many details to consider. Then you, too, may capture an amazing moment like this beaver gnawing on a tree.
Rick Brackett, land manager for the Monadnock Conservancy, is an avid outdoorsman. When it comes to using a wildlife or game camera, he always puts it in video mode, rather than still photo, to capture the behavior and vocalizations of the animals. Here are his tips on how to place your trail camera.
1. Set up now for spring wildlife
When you set up a camera, your human scent is left behind. Some wildlife will then avoid the area for up to two weeks. Especially if you are hoping to capture photos or videos in a new place, now is the time to set your camera up, test it, and allow sufficient time for your scent to dissipate before spring wildlife activity heats up.
Rick says that, by the end of March or early April, you can certainly expect to see deer, and maybe fox, coyote, or even bobcat. If you set up at a river crossing, you may get fisher, otter, mink, weasel, and, if the ice has melted, beaver passing through.
2. Look for natural obstacles or corridors
When the landscape redirects or funnels where animals can go, it increases the likelihood that there will be wildlife movement in that area. “A blow down tree can force animals one way or the other around it,” Rick says. A shallow spot in a stream or a beaver dam, used as a bridge by many animals, are good choices, too, because they concentrate crossings in a single location.
3. Point the camera northward
Try not to point the camera to the south, especially this time of year, as any daytime photos will look washed out due to the sun’s glare.
4. Pick a clear spot with good range
Generally, game cameras can detect movement within a range of 30 to 50 feet. Your camera placement should be in a spot with the highest chance of catching your target species. Think about height, too: low to the ground (otter and waterfowl), about four feet up (coyote and deer), or higher (moose).
Remember that brush and limbs can trigger the camera. Choose a spot where nearby trees and shrubs won’t get in the way, especially when it’s windy.
5. Try to hide the camera
Keeping the camera hidden is not only a deterrent to theft, but it also minimizes animals’ attention to it. Some cameras make a noise when triggered, which can scare away some species. “Coyotes seem to really be disturbed by it,” Rick says. “Deer too.”
Related Links
Watch these wildlife videos captured on Conservancy lands
Winterberry Wildlife, a website about camera trapping and wildlife tracking